

In this video tutorial I’ll guide you step by step so you can make your own crochet clutch bag. Say hello to the Row43 bag.
It’s a practical, elegant design that works for any occasion.
While this clutch bag isn’t the most beginner-friendly project out there, it’s designed for makers who already have a solid foundation in crochet and are ready to expand their skills. If you’re fairly new to crochet but feel ready for a moderate challenge, this project is for you! Learn to make the Row43 clutch.
With techniques like the extended half double crochet, creating a buttonhole and a basic crochet handle, this tutorial introduces you to new skills — always explained clearly and in detail on video..
So even if you’re taking your first steps into slightly more advanced projects, you won’t feel overwhelmed — I’m with you every step of the way, thanks to the video I’ve prepared.
I’ve also tried to make this easier by avoiding a zip for the closure — it’s not the easiest thing to attach, so I opted for a button and, on the last round, slightly closing the opening using the crochet stitches themselves. I think it’s a more practical and beginner-friendly solution.
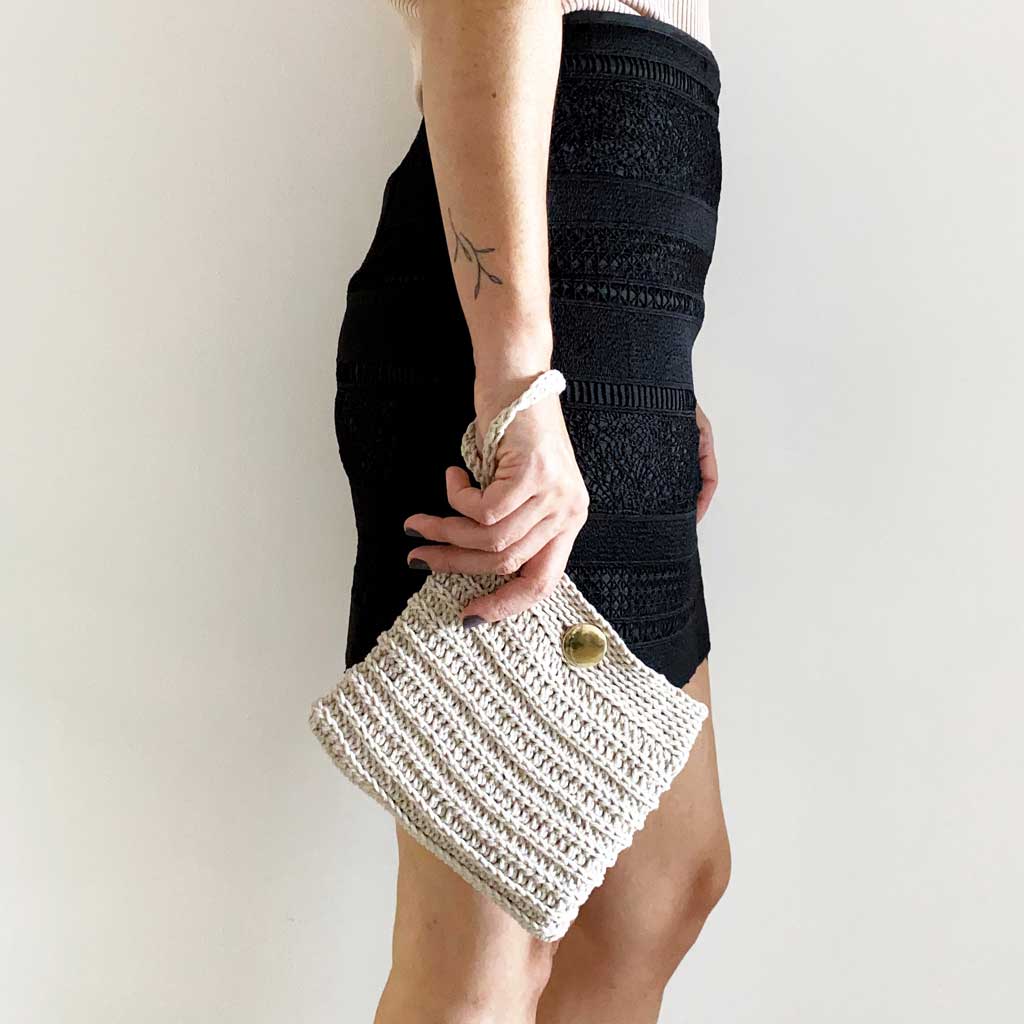
A picture is worth a thousand words — and a video even more so. I wanted to give you this project step by step on video, where you’ll see every movement of the hook and yarn in real time, making the whole process much easier.
You won’t have to imagine how each stitch is made — you can simply follow along visually.
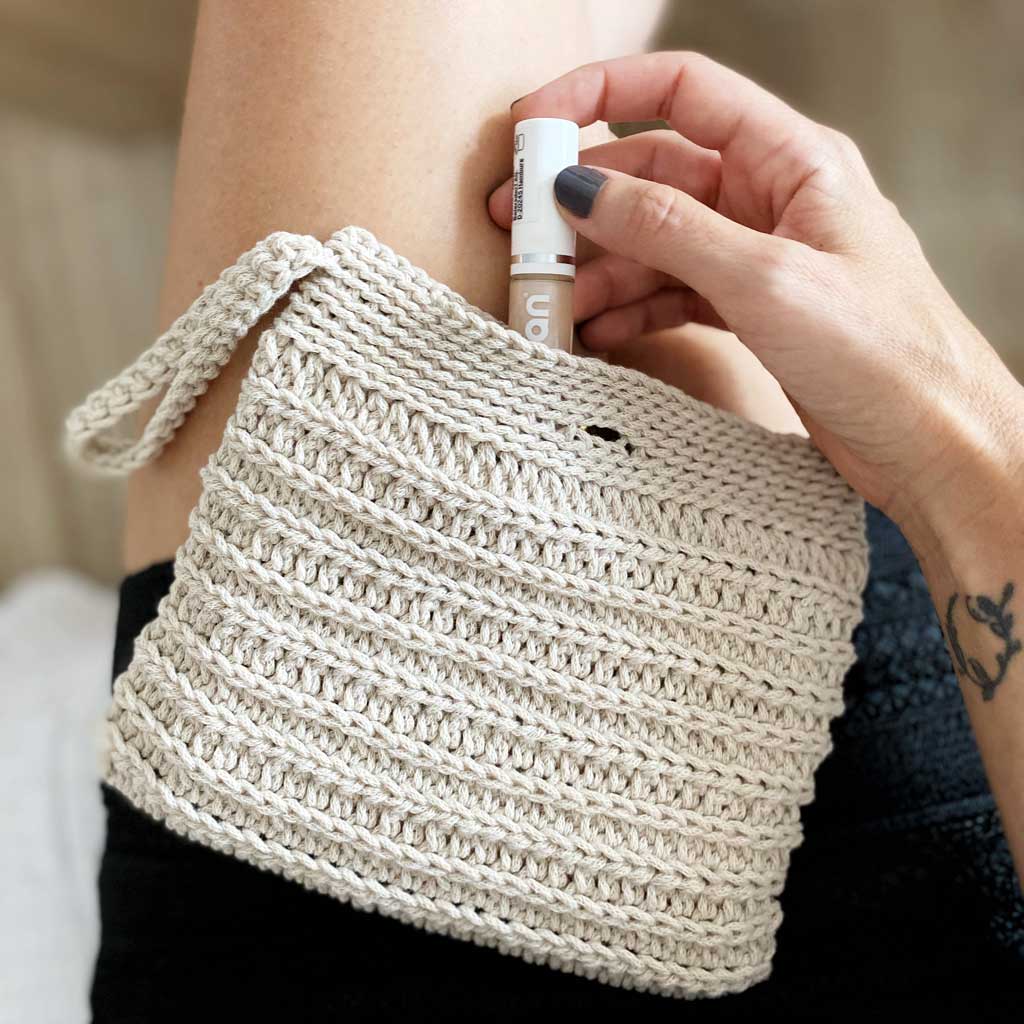
Row43 is a great project for several reasons:
– It makes a perfect gift 🎁
– It lets you use up yarn scraps from home in a beautiful way ♻️
– You can make it in any size you like (with a few adjustments of course… but you can do it ????)
Learn to make the Row43 clutch. LET’S GO
Hit play and let’s get started! If you enjoy this tutorial, don’t forget to share it with your fellow makers and subscribe for more content like this.
The video tutorial is in Spanish — you can follow along by enabling English subtitles: just tap the CC button in the YouTube player.
Materials:
This post contains affiliate links. This means that if you click a link and make a purchase, I’ll receive a small commission at no extra cost to you. It helps me keep creating this kind of content — thank you for your support!
- Friendly yarn by Bobbiny (I used the beige shade)
- Crochet hooks, 4mm and 5mm
- Stitch marker
- Tapestry needle
- Scissors
- A 20mm button
Make sure you have all your materials ready before you start. It will make your whole making experience much smoother.”
If you enjoyed the video and want more crochet, here are some patterns with a step-by-step VIDEO TUTORIAL included — practically mini courses. Dive into new projects that will challenge and inspire you to create your own crochet garments


Step-by-step summary: how to crochet a clutch bag:
Learning to make the Row43 clutch with the video is super easy, but here’s a quick summary so you can get a feel for the steps I followed:
Stitches/Abbreviations used
- ch chain
- sc single crochet
- sl st slip stitch
- exhdc extended half double crochet
- BLO work through back loop only
- FLO work through front loop only
- rnd round/s
- st stitch/es
Base bag instructions
Rnd 1 Start with a slip knot and ch 30, exhdc in the 3rd ch from hook, 26 exhdc, 2 exhdc in the last st. You should have 58 sts in total. Join the last st to the first with a sl st, ch 2 and turn to work in the opposite direction.
Tip to avoid counting stitches
Place a stitch marker in the st just to the right of your ch 2. That marked stitch should be left unworked in the next round.
From now on, at the end of each round:
- Join the last st to the first with a sl st
- Ch 2 (does not count as first st)
- and turn to work in the opposite direction.
Rnd 2 BLO 58 exhdc
Rnd 3 FLO 58 exhdc
Repeat Rnds 2 and 3 until you reach the desired length. I worked a total of 10 rnds. At the end of the last round, DO NOT TURN — we’re now going to work the top border. Switch to a slightly larger hook; I used a 5.00mm.
Top border
To work this top border section, at the end of each round:
- DO NOT TURN — work all rounds in the same direction for this section
- There’s no need to join the last st to the first — just use a stitch marker to mark the first stitch of each round to help you keep count.
Rnd 1 BLO sl st in every st around
Rnd 2 repeat Rnd 1
Rnd 3 Same as Rnd 1, but we’re going to make the buttonhole. Find the three centre stitches on the front of the bag — when you reach them, skip those 3 sts, ch 3 and continue with sl st in the remaining sts to the end of the round.
Rnd 4 Same as Rnd 1, but on one side we’re going to add the handle — this is optional. When you reach the side, ch 31, sc in the 2nd ch from hook, 29 sc in the remaining ch. Remove the hook, insert it into the first sc, pull the loop from the last sc through the first sc to join — this connects the start and end of the handle. Now sl st in the same st where you worked the last sl st before starting the handle, joining the handle to the base of the bag. Continue with sl st in the remaining sts to the end of the round.
Rnd 5 repeat Rnd 1
Rnd 6 repeat Rnd 1, but in this round we’re going to narrow the bag opening slightly. To do this, use the 5 sts at each end and work them by pairing the front stitches with the back stitches. (watch the video carefully to see how this is done)
At the end of Rnd 6, fasten off. Weave in all ends using a tapestry needle and sew on the button.
How did you find making the Row43? Any questions?
I’d love to hear how you found the project and the experience of following along with the video. Feel free to share your results, and if you have any questions, leave them in the comments or get in touch here.
Happy making, and see you on the next crochet adventure!


